You're probably planning the same trip most first-time Mount Rainier visitors plan. One iconic mountain. A few famous trail names. Maybe a sunrise at Sunrise, wildflowers at Paradise, and one big hike that feels like the centerpiece of the day.
That version of the trip still exists, but it's no longer the whole story.
A useful Washington Mount Rainier hiking and travel guide has to deal with a more practical reality. Roads, corridor access, parking pressure, seasonal snow, and live closure reports shape the day as much as your fitness or trail wishlist. The mountain is still the draw. The difference is that success now comes from planning for what's reachable, what's safe, and what you'll do when the first plan falls apart.
Navigating the Modern Mount Rainier Experience
You can do a lot right at Mount Rainier and still start the day with a problem. A 6:30 a.m. departure feels early until you reach Paradise or Sunrise and find a backup at the entrance, full pullouts, and drivers circling for spaces while trail plans unravel.
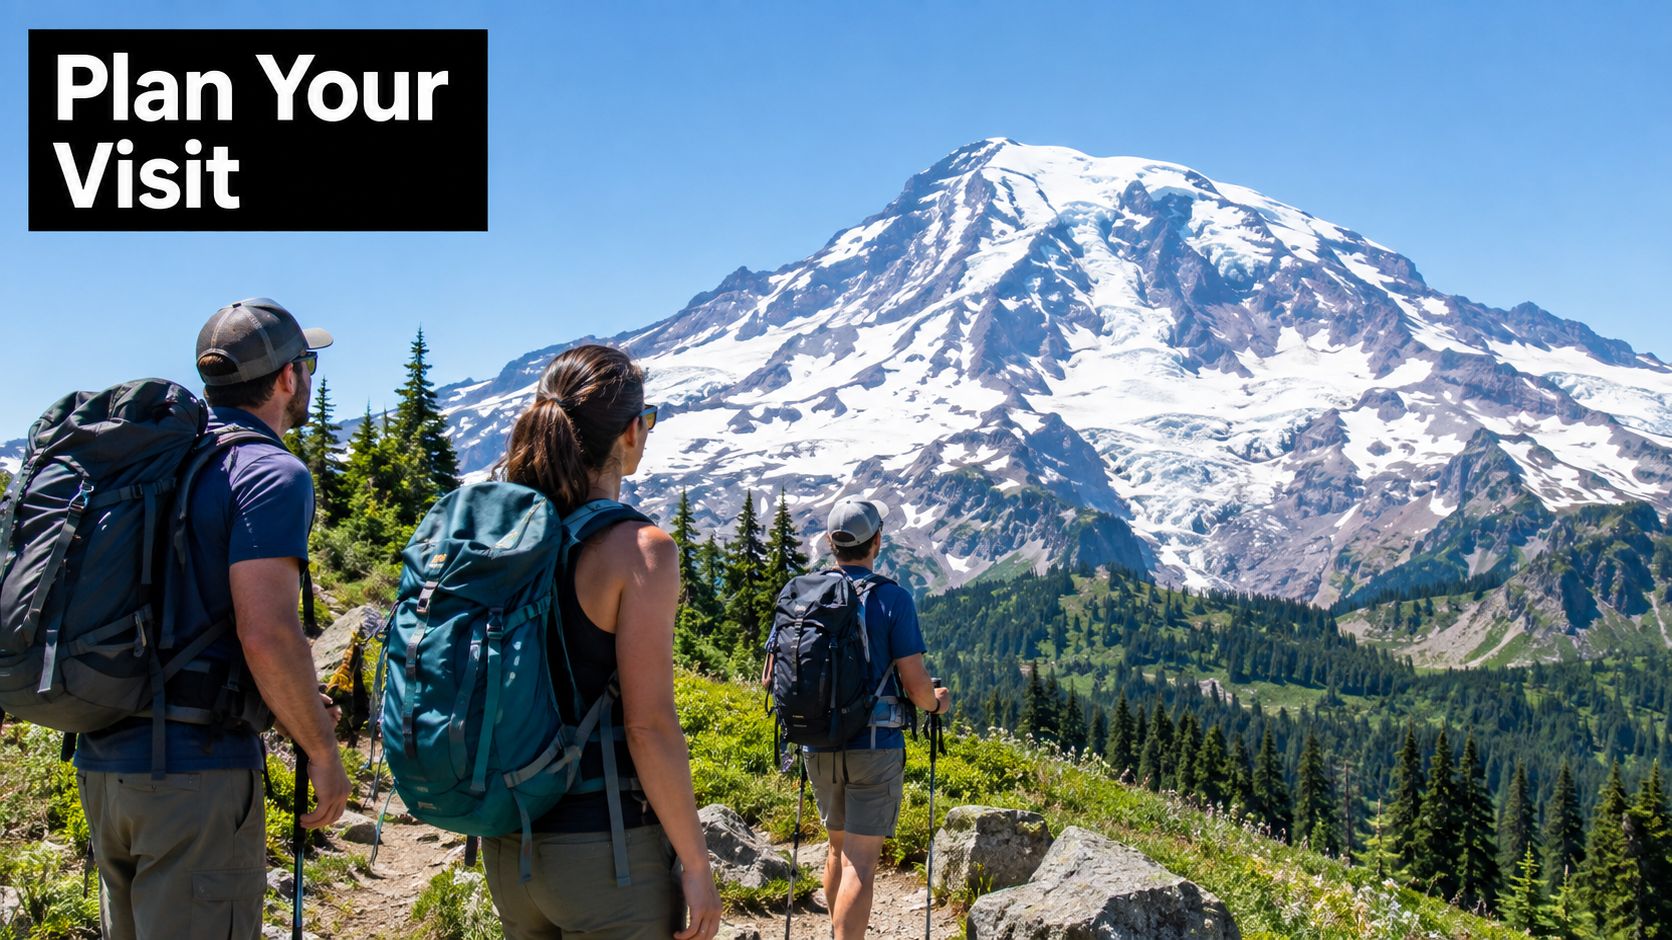
That pattern catches first-time visitors because they plan Rainier like a single destination. It does not work that way on the ground. The park covers 368 square miles and recorded 1,635,342 recreation visits in 2025, with the heaviest use in July and August, according to the National Park Service visitor hours and access page. The park also reports visitation has risen about 40% over the last 10 years. The result is predictable. Access pressure piles up in a few famous corridors long before the rest of the mountain feels busy.
The practical shift is simple. At Rainier, the first decision is often not which trail to hike. It is which entrance, road, and parking area still give you a workable day.
Why spontaneity works less than it used to
Older Mount Rainier advice still has some truth. Start early, carry layers, and watch the forecast.
It is no longer enough.
Recent seasons have included timed-entry controls in high-demand areas, including the Sunrise Corridor in 2025, as outlined on the National Park Service timed-entry information page. Even in years when those rules change or disappear, the planning problem stays the same. Congestion, road status, snow, and parking capacity now shape the day as much as fitness or trail ambition.
I treat Rainier as a corridor-management trip first and a hiking trip second. That sounds less romantic, but it is how you avoid wasting half a day in the wrong line of cars.
What a good trip plan looks like now
A workable plan usually has four parts:
- One primary corridor: Paradise, Sunrise, Ohanapecosh, Carbon River, or another area you have checked for current access.
- One real backup: A different corridor, not just a second trail that depends on the same full parking lot.
- A timing plan: Very early, late afternoon, or a shorter shoulder-hour outing instead of the standard midmorning arrival.
- A current conditions check: Roads, construction, snow coverage, and facility status can change what is realistic even in peak season.
This is Mount Rainier adjustment. The mountain is still the reason to go, but fragmented access now decides whether the day feels smooth or scrambled. A flexible plan beats a perfect trail wishlist every time.
Permits and Reservations Explained
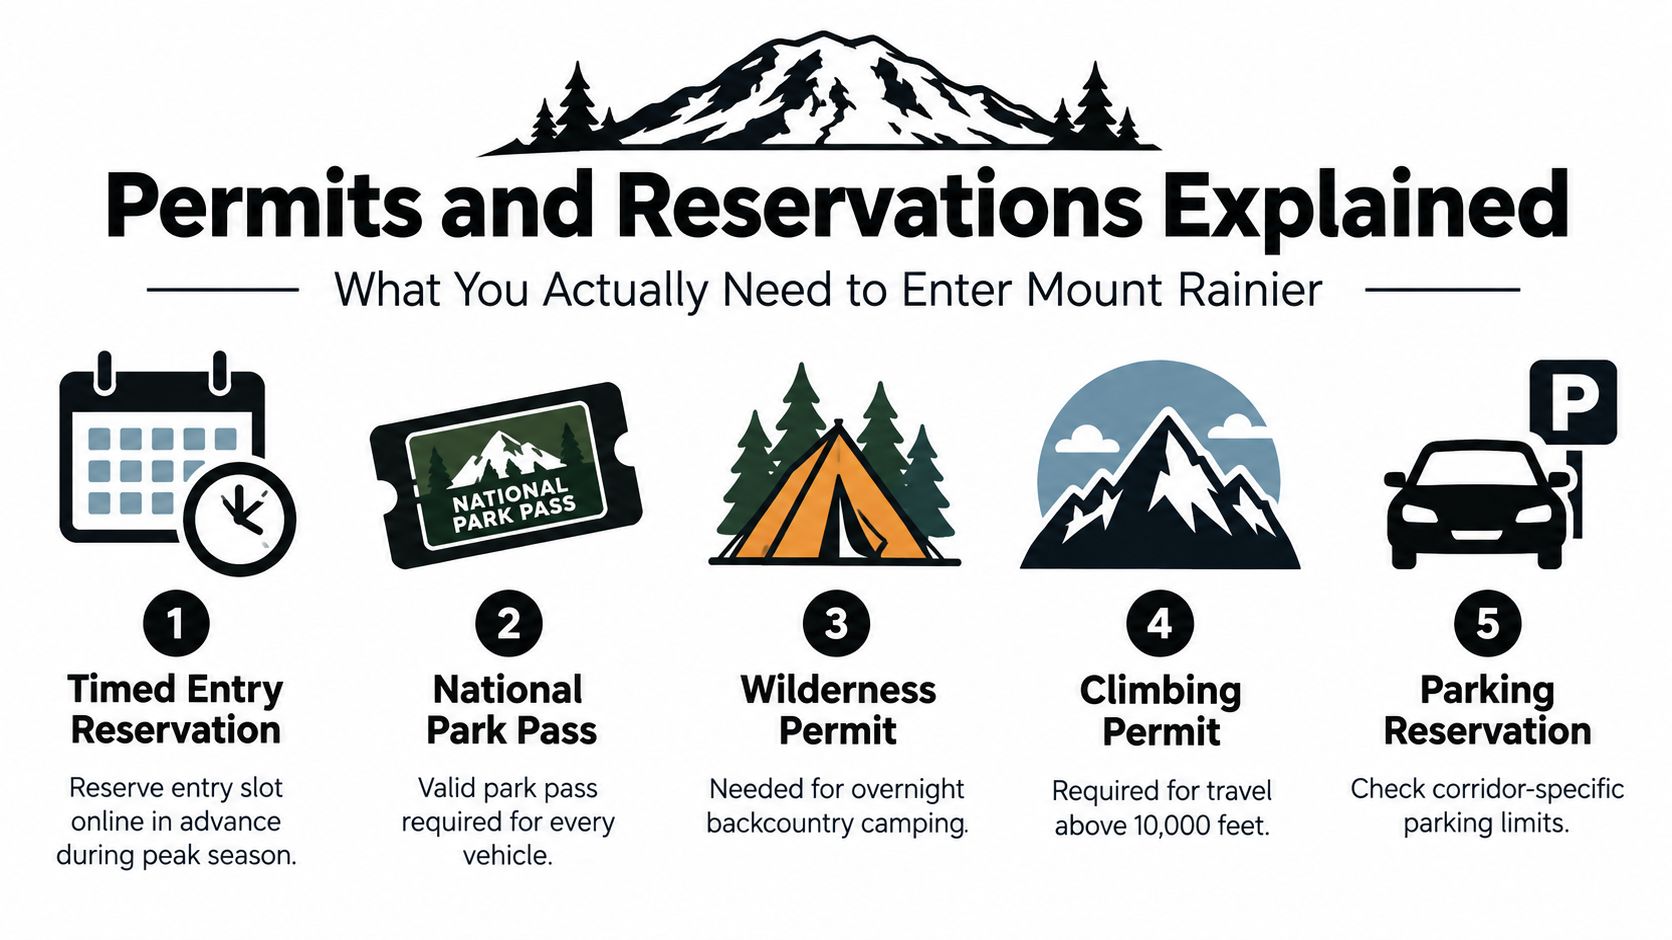
Most confusion at Mount Rainier comes from mixing together three separate systems: park entry, wilderness permits, and climbing permits. Keep them separate and the planning gets much easier.
What day hikers actually need
If you're visiting for a normal day hike, the key update is simple. Mount Rainier National Park will not require timed-entry reservations anywhere in the park during the 2026 season, according to the park's 2026 timed-entry announcement. That means you can enter without that advance permit system for day use, although the park still monitors congestion and parking conditions.
That doesn't mean you can ignore planning. It means your risk shifts from reservation failure to parking failure, delayed starts, and backup-corridor decisions.
For visitors who've planned other major mountain parks recently, this feels similar to the kind of rules churn covered in broader national park trip writeups like this Glacier travel guide and tips. Systems change. The habit that works is checking the live rule set for the exact season you're visiting.
When you need more than day-use access
Overnight travel is different.
The National Park Service states that day hiking does not require a wilderness permit, but all overnight backcountry camping does year-round, and any travel above 10,000 feet or on glaciers requires a climbing permit on the park's wilderness camping and hiking page. That line matters because many visitors assume permit rules begin only for summit attempts. They don't.
Use this breakdown:
Day hike on established trails
No wilderness permit needed.Backpacking or overnight backcountry stay
Wilderness permit required year-round.Glacier travel or travel above 10,000 feet
Climbing permit required.
Don't treat Camp Muir-style goals or snow travel near high terrain like regular hiking just because they begin on a popular trail.
How wilderness permits are released
For summer backpacking and climbing, the park says about two-thirds of wilderness permits are released for advance reservation, while the remaining one-third are first-come, first-served at Wilderness Information Centers, according to the wilderness permit page.
That split shapes strategy. If your route is highly specific, try to reserve. If your dates are fixed but your route can flex, you still have a shot by staying adaptable and speaking with rangers in person.
A no-nonsense permit approach looks like this:
- Fixed itinerary hikers: Reserve as early as your season allows.
- Flexible backpackers: Build two or three route options.
- High-route ambitions: Confirm whether your plan crosses into climbing-permit territory.
- Everyone: Check current route viability with rangers before driving in.
Park Corridors and Current Access Realities
A lot of Mount Rainier trips go sideways before anyone sets foot on a trail. The problem is not usually fitness. It is choosing a destination from a map or an old blog, then finding out your planned corridor is full, closed, or cut off by road and bridge issues.
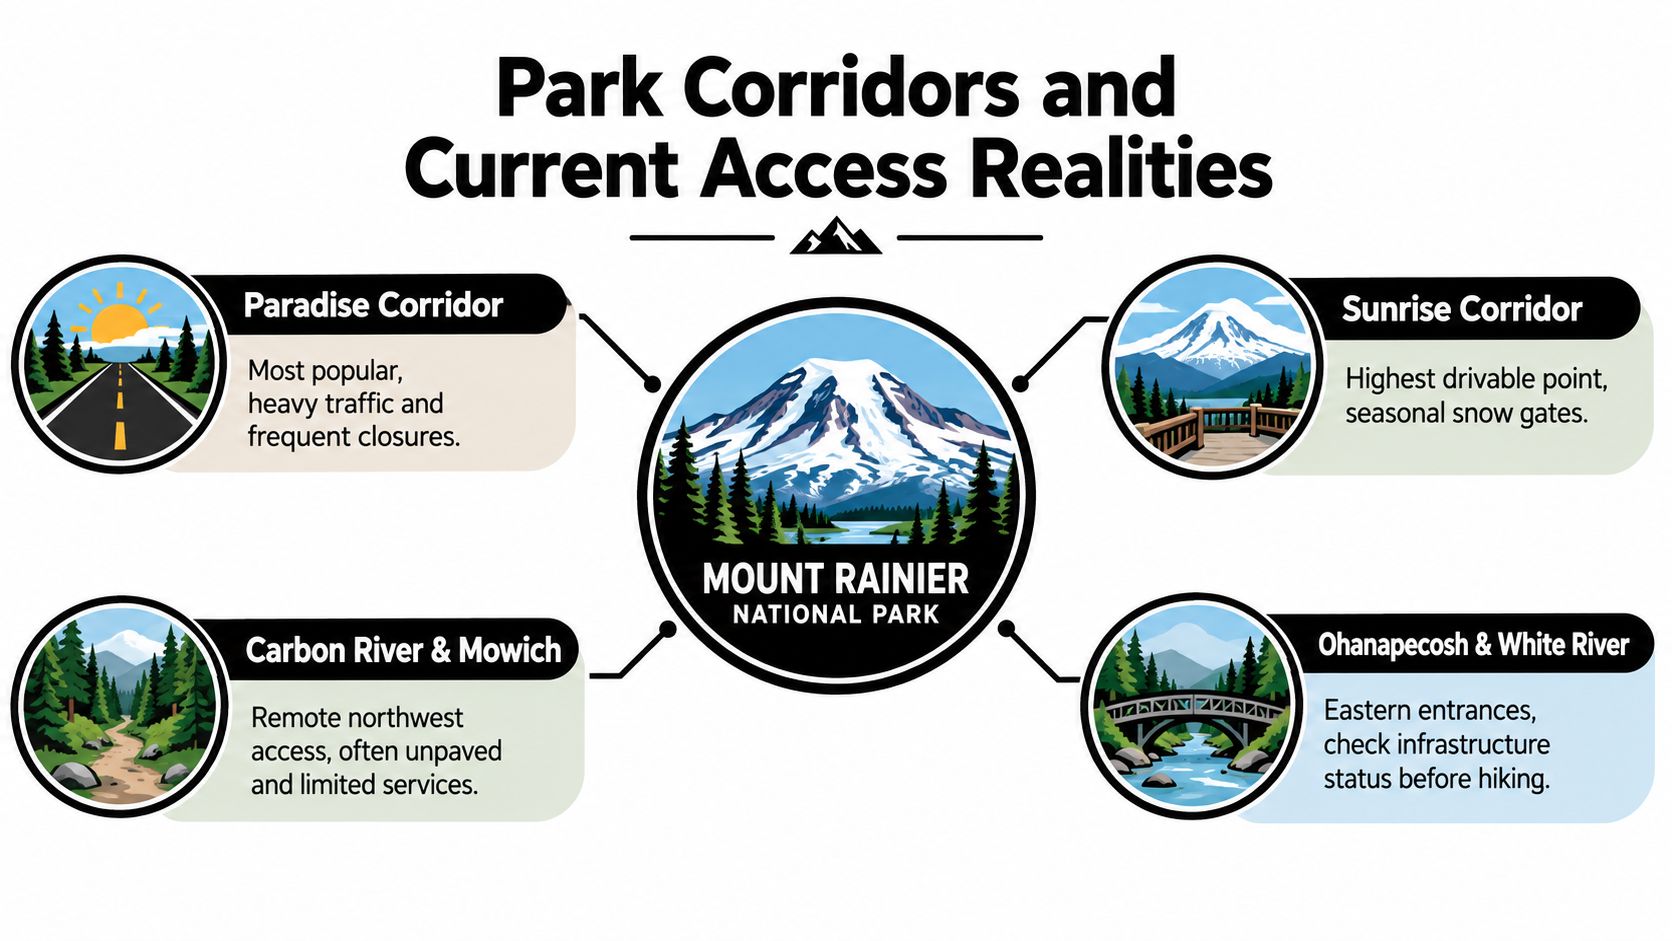
Mount Rainier works as a set of separate access corridors. That matters more than many first-time visitors expect. On this mountain, the day's real decision is often not “Which hike should I do?” but “Which entrance, road, and parking area can I realistically use today?”
The corridors that work best for most first visits
Paradise is usually the most forgiving first choice. It has the park's best-known views, the most built-out visitor services, and enough trail options to salvage the day if weather or timing changes. It also attracts heavy demand, so a good trail plan can still fail if you arrive late and the lot is jammed.
Sunrise is different. It starts higher, feels more alpine right away, and gives fast access to big scenery. It is also more exposed to wind, weather shifts, and the consequences of a late start. If clouds sock in the upper mountain or parking fills early, Sunrise can turn from ideal to poor value fast.
Ohanapecosh and White River fit best as supporting corridors, not automatic add-ons. They can be excellent on the right day, but they depend more on current operations, road status, and localized construction impacts than many generic guides admit.
| Corridor | Access Character | Best Use |
|---|---|---|
| Paradise | Popular, developed, high demand | First visit, classic views, shorter scenic hikes |
| Sunrise | Seasonal, exposed, parking-sensitive | Alpine views, stronger hikers, dry-weather days |
| Carbon River and Mowich | Remote and heavily affected by infrastructure limits | Only with current access verification |
| Ohanapecosh and White River | Useful supporting corridors with localized constraints possible | Secondary plans, quieter day structure |
If you like waterfall and scenic-drive planning in the broader Northwest, the same lesson shows up in lists like the best waterfalls in Oregon you need to visit. The destination matters less than current access, crowding, and timing.
Where many outdated guides fail
The north and northwest side of the park is where stale advice causes the most trouble.
The National Park Service current conditions page has recently listed the Wonderland Trail closed between Carbon River Suspension Bridge and White River Campground, the Northern Loop Trail closed, and the Carbon River/Fairfax Bridge closure cutting off standard vehicle, bike, and foot access to Carbon River and Mowich Lake. Those are not small footnotes. They wipe out a lot of sample itineraries that still circulate online.
If a guide sends you toward Carbon River or Mowich without telling you to verify corridor access first, use the rest of that guide carefully.
How to build a corridor backup plan
A good backup plan changes the corridor, not just the mileage. If Paradise parking is blown out, switching from one Paradise trail to another may not solve anything. If Sunrise is fogged in or battered by wind, another exposed ridge walk is often a poor substitute.
Use a two-layer plan instead:
- Primary plan: Your preferred corridor and trail.
- Second plan: A different corridor with separate parking and weather exposure.
- Third plan: A short scenic stop or low-commitment walk you can still enjoy if the mountain shuts down your original goals.
This approach saves trips. I have had days at Rainier where the best call was abandoning the headline hike early, changing sides of the park, and treating access and weather as the route-finding problem.
Ohanapecosh also needs that mindset. Recent park updates have noted rehabilitation work and other localized closures extending into future seasons. At Mount Rainier, an “open” park can still mean your intended road, campground area, trail connection, or visitor hub is not functioning the way an older guide suggests.
Choosing the Right Trails for Your Ability
You drive in before sunrise, still end up parking farther out than planned, and then realize the hike you picked online only works if the snow has melted off a key slope or the trailhead you wanted is accessible that day. That is a normal Mount Rainier problem. On this mountain, choosing the right trail starts with honest ability, but it also starts with picking an objective that still makes sense after parking, road access, and current conditions cut your options down.
The best trail is the one you can handle safely without forcing the day. Fitness matters. Comfort on steep snow matters. So does your willingness to turn around when a route looks worse than expected. A lot of rough Rainier days come from treating a famous trail like a guaranteed outing instead of a conditional one.
According to the National Park Service, access routes around the mountain grew from native paths, game trails, mining roads, and tourist paths from the 1880s, and by 1915 a rough around-the-mountain route had been completed as the original Wonderland Trail on the park's historic trails page. That history still matters now. The park's hiking network follows separate mountain corridors, and those corridors shape the difficulty of your day just as much as mileage does.
Why ability at Rainier is more than mileage
Mount Rainier punishes vague self-assessment. A hiker who does fine on a ten-mile forest trail elsewhere may struggle here if the route includes long exposure above tree line, lingering snow, crowded trailheads, or a late start caused by parking delays.
That is why trail choice should be filtered through four questions:
- How much climbing can you sustain? Rainier hikes get steep fast.
- How comfortable are you above tree line? Exposure wears people down, even on well-known routes.
- Can you travel on patchy snow without panic or sloppy footing? Early and mid-season conditions change what an "easy" trail feels like.
- How much margin do you have if the day gets slower? Parking hunts, shuttle adjustments, and conservative turnarounds all eat time.
The Wonderland Trail is the clearest example. It is commonly described as a route of about 93 miles around the mountain, linking major destinations that grew from those earlier travel corridors, as noted on the historic trails page. Many visitors hear "Wonderland" and picture one iconic path. In practice, day hikers usually experience it as selected segments, and the segment matters more than the name.
Trail Difficulty and Corridor Overview
| Corridor | Difficulty | Best For |
|---|---|---|
| Paradise | Easy to strenuous | First-time visitors, scenic walkers, strong day hikers |
| Sunrise | Moderate to strenuous | Hikers who want open alpine terrain and bigger effort |
| Ohanapecosh and lower forested areas | Easier to moderate | Mixed groups, recovery days, variable weather |
| Wonderland segments | Moderate to strenuous | Experienced hikers matching segment choice to conditions |
Those labels only help if you read them conservatively.
Paradise gives newer visitors the quickest access to big scenery, but it also attracts the heaviest demand and can pressure people into starting late after circling for parking. Sunrise often feels more serious than the mileage suggests because the terrain is exposed and the sun, wind, or cloud can wear you out fast. Lower forested hikes around Ohanapecosh are a better call for mixed-ability groups, smoky days, or afternoons when the upper mountain is not worth forcing. Wonderland segments work best for hikers who already know how to judge a trail by current conditions, not by reputation.
For hikers comparing ratings across western destinations, broad skill-level roundups like this guide to best hiking trails in Colorado for every skill level can help with fitness expectations, but Rainier adds more route volatility than a simple easy-moderate-strenuous label suggests.
Match the trail to your real day, not your ideal one
A strong choice at Mount Rainier leaves room for friction. If your group has one confident hiker, one person unsure on snow, and one person who only wants a scenic walk, do not solve that by picking a hard trail and hoping everyone rises to it. Pick the objective the least comfortable person can complete without getting rattled.
That usually means:
- Shorter alpine walks for first-time visitors who want views without a long commitment
- Forest or lower-elevation trails for families, mixed groups, or uncertain weather windows
- Longer climbs and exposed routes only for hikers who have both the fitness and the judgment to turn around early
The mountain itself was measured by the U.S. Geological Survey at 14,408 feet in 1913, as the National Park Service notes on its historic trails page. The number is less important than the consequence. This is a huge volcanic system that creates long climbs, fast weather shifts, and trail conditions that can feel harder than the map suggests.
Choose the trail you can still finish safely if the route is slower, the footing is worse, or the turnaround point comes sooner than you wanted. That approach leads to better Rainier days than chasing the biggest name on the map.
Weather Hazards and Seasonal Snowpack
You can leave a trailhead in sun, hit slush an hour later, and turn around because the route ahead is still buried. That is a normal Mount Rainier day, even in midsummer. The planning problem is not just picking a trail. It is judging whether that trail is in hiking condition when you arrive, after road openings, corridor access, and parking have already narrowed your options.
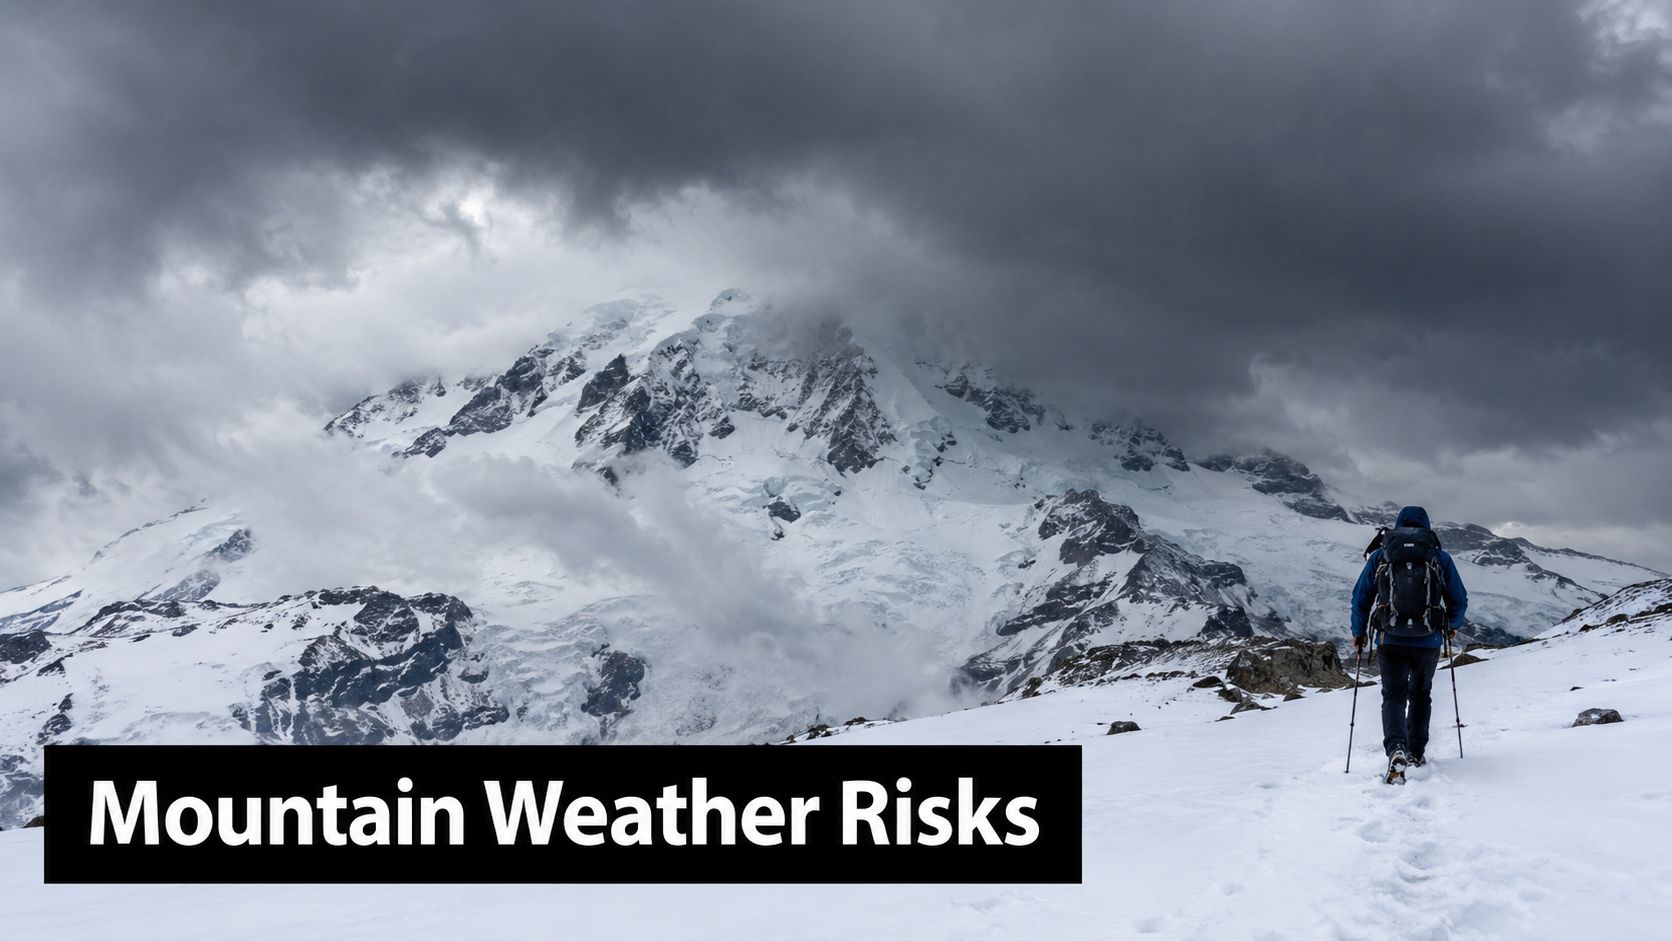
The National Park Service notes on its trail and backcountry camp conditions page that weather shifts fast, snow can fall in any month, and many trails stay snow covered well into July. On Rainier, calendar summer does not guarantee dirt trail.
Why summer labels can mislead you
An easy trail rating only applies when the trail is melted out and intact. The same park conditions page warns hikers not to assume an easy route stays easy when steep snowfields linger or bridges wash out.
That matters more at Rainier than many first-time visitors expect. Access is fragmented, so people often commit to the corridor they could enter and then force a hike that no longer matches conditions. A family walk from Paradise can turn into a snow travel problem if the tread disappears. A moderate route from Sunrise can become a cold, exposed turnaround if clouds drop and you lose visual landmarks.
A few hazards change the day quickly:
- Lingering snow: Covers tread, switchbacks, and junction signs.
- Low clouds and fog: Flatten terrain and make route-finding much harder.
- Wind and wet exposure: Turn a routine stop into a fast heat-loss problem.
- Bridge, washout, or trail damage: End the hike outright, regardless of fitness.
If you have hiked other headline parks, compare Rainier less to a standard summer hiking area and more to a place where access and conditions can shift your plan at the last minute. The same kind of trip flexibility helps in this Zion National Park travel guide and hiking tips, but Rainier adds longer snow persistence and more frequent visibility problems.
Adjust your decision-making, not just your clothing
Good Rainier judgment starts with a simple question. Are you preparing for a trail hike, or for a trail that may still behave like early season mountain travel?
The park's conditions guidance advises hikers to carry rain and wind resistant layers, plus a topographic map, compass, and altimeter. That is a practical signal about the mountain. If clouds move in or the boot path across snow wanders, phone navigation alone is a weak plan.
I treat snow coverage as a route-finding issue first and a comfort issue second. Wet feet are annoying. Losing the exact line of the trail above a steep slope is the problem.
Turn around early if snow covers the route and you cannot identify the trail ahead with confidence. Rainier punishes stubborn decisions fast.
Essential Gear and Leave No Trace Practices
At Mount Rainier, good gear choices are less about buying fancy equipment and more about carrying the boring items people skip when the trail starts at a sunny parking lot. You need gear for the trail you hope to hike and for the conditions that may show up instead.
Pack for weather changes, not parking-lot weather
The park's own guidance points toward a practical kit. Start with rain and wind protection, then build around navigation and comfort. A topographic map, compass, and altimeter aren't old-fashioned extras here. They're the items that matter when the trail disappears under snow or low clouds flatten the terrain.
A reliable day-hike kit should include:
- Weather layers: Waterproof or highly weather-resistant shell, warm midlayer, extra dry layer.
- Navigation tools: Map, compass, altimeter, and offline mapping on your phone as backup, not primary.
- Food that holds up: Dense snacks that don't melt into a mess. If you're refining trail fuel, this breakdown of the best hiking energy bar is a useful reference because it focuses on practical carry-and-eat performance rather than hype.
- Emergency basics: Headlamp, small first-aid kit, blister care, extra water, and a water treatment option on longer days.
Leave No Trace on a mountain that gets hammered
Heavy use changes how you should think about impact. On a mountain this popular, careless habits compound into damaged meadows, trail braiding, and unsafe wildlife encounters.
Use a stricter-than-average standard:
- Stay on the trail: Especially in meadow and alpine zones where one shortcut becomes many.
- Keep pets out of trail plans: Park guidance notes that pets are not allowed on trails, which affects family and road-trip decisions.
- Handle waste responsibly: Know the rules for your route and don't improvise in fragile areas.
- Don't count on social paths: Boot tracks in snow or dust often lead nowhere useful.
The hikers who move most smoothly at Rainier usually aren't carrying the most gear. They're carrying the right gear, checking conditions, and avoiding preventable mistakes.
Building a Flexible Daily Itinerary
The cleanest Rainier days are usually built around one idea. Make fewer assumptions.
Start with a corridor, then add timing
Pick one part of the park for the day and commit to learning its options. Don't try to stitch together multiple marquee areas unless you already know the road network and seasonal realities well. If your first choice is Sunrise, build your whole day around Sunrise and what happens if parking, cloud cover, or snow shuts that down.
A useful itinerary template looks like this:
Primary objective
Your main hike or viewpoint, chosen because current access and weather support it.Secondary hike
Shorter, lower commitment, and ideally less exposed.Non-hiking fallback
Scenic stops, short walks, photography pullouts, or a corridor drive that still makes the day worthwhile.
This is the same planning discipline good backpackers use before longer trips. If you want a broader framework for trip structure, this guide on how to plan your backpacking adventure does a nice job of walking through route thinking, pacing, and contingency planning.
Build around parking pressure and changing conditions
For most summer visits, early is better. Late can also work well if you accept a shorter hike and focus on light, views, and reduced churn rather than big mileage. Midmorning is where many plans get squeezed.
Use this checklist the night before:
- Confirm conditions: Roads, trail closures, and any corridor-specific issues.
- Load two trail options: Not just in your head. Save them offline.
- Pack for a longer day than planned: Delays happen.
- Set a turnaround time: Especially if weather or snow is part of the equation.
If you're pairing Rainier with city time, this Seattle travel guide with top attractions and local tips is useful for structuring the non-mountain part of the trip without overloading one day.
A flexible itinerary doesn't feel as romantic on paper as a perfect summit-view plan. It works better in the park. And at Mount Rainier, what works is what gets you home with a full day, good photos, and enough margin to come back again.
If your business is planning an office cleanout, laptop disposal project, or larger IT asset refresh after travel season, Reworx Recycling offers secure, practical support for electronics recycling and responsible equipment retirement. Their team helps organizations handle old hardware in a way that protects data and keeps usable technology in circulation through community impact programs. Visit Reworx Recycling to explore pickup options, secure data destruction resources, and donation-based recycling guidance.