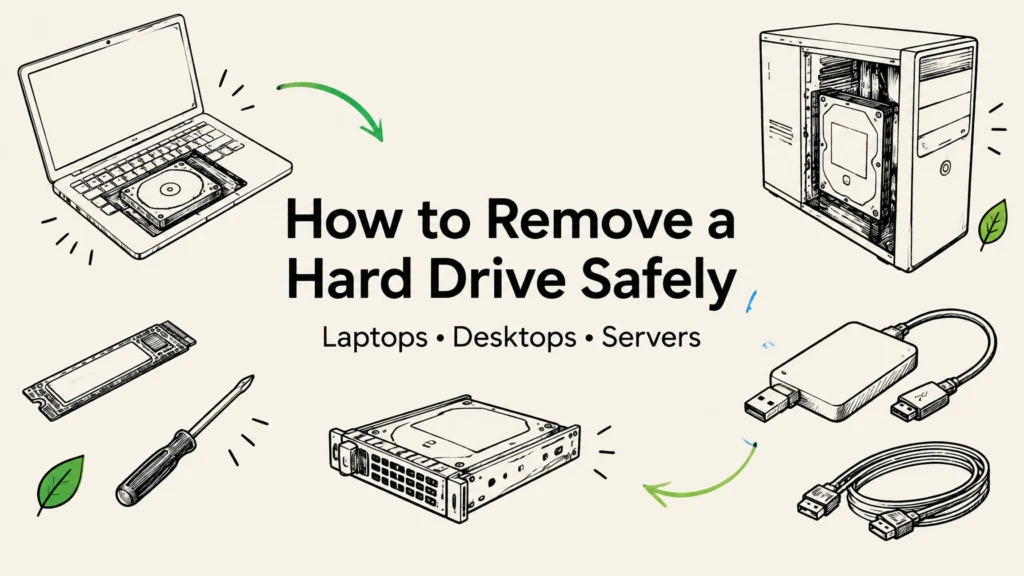
To remove a hard drive safely, shut down the device, disconnect its power, and follow the manufacturer’s instructions to release the drive from its bay, connector, or mounting bracket. Handle it by the edges and keep it in an antistatic bag. Remember: removing a drive does not erase the data on it.
That last point matters whether you’re replacing a drive at home or retiring a roomful of business equipment. Physical removal is just the first step in protecting information and deciding what happens to the device next.
Before you start: prepare the device and your work area
Check the device’s service manual first. Laptop layouts vary, and opening a device may require special tools or affect its warranty. If you’re not sure which component is the drive, pause and confirm before disconnecting anything.
Before you begin:
- Back up files you need and confirm which drive you plan to remove.
- Shut down fully, unplug power and accessories, and remove a detachable battery if the manufacturer allows it.
- Work on a clean, dry surface away from carpet. Use an antistatic wrist strap if you have one, and hold the drive by its edges.
- Keep screws, caddies, and drive labels together. Put the removed drive in an antistatic bag.
- For a business device, record its asset ID and the drive’s serial number before it leaves the work area.
Use the right screwdriver and never force a panel, connector, or drive. If a part doesn’t release with gentle pressure, check for another screw, latch, or cable.

How to remove a hard drive: steps by device type
-
Shut down and disconnect power. Turn the computer off through its operating system. Unplug the power adapter or desktop power cable, then disconnect peripherals. Don’t remove an internal drive while the computer is running unless it is a supported hot-swap drive and you are following the system’s procedure.
-
Open the device using its service instructions. Remove the laptop access cover or desktop side panel as directed. Keep fasteners in a tray so they don’t get lost or mixed up.
-
Identify the drive and its connections. A drive may sit in a caddy, tray, or server carrier. Check its connector and mounting hardware before moving it. In business settings, match it to the asset record.
-
Release the drive without pulling on cables. Disconnect plugs by gripping the connector, not the wire. Remove the retaining screws or release the carrier latch, then slide or lift the drive out gently.
-
Protect and label it. Hold the drive by its sides, avoid touching the connector or circuit board, and place it in an antistatic bag. For business equipment, label it with its source asset and planned next step.
-
Decide what happens to the data. A removed drive is still data-bearing media. Keep it in controlled storage until it has been properly sanitized for reuse or physically destroyed.
Desktop hard drives: 3.5-inch HDDs and 2.5-inch drives
In a desktop tower, a 3.5-inch hard disk drive (HDD) or 2.5-inch solid-state drive (SSD) is usually attached to a drive cage, sled, or bracket. After unplugging the computer, open the case and disconnect the power and data plugs by their connectors. Support the drive as you remove the last screw or release the latch.
Lift it out without bending its connectors or dropping it. If you plan to reuse the computer, keep its screws and mounting parts together. A spinning HDD can be damaged by a hard knock, so set it down on a padded surface.
Laptop drives: 2.5-inch HDDs or SATA SSDs
Some laptops have a dedicated drive cover; others require removal of the whole bottom panel. Once you’ve accessed the drive, remove any retaining screws and slide it away from its connector before lifting it out. If it sits in a metal caddy, remove the caddy only if needed and keep it with the laptop or its asset record.
Don’t assume every laptop has a removable drive. Many newer models have storage soldered to the motherboard, and some use an M.2 module instead. Check the service manual before opening the case.
M.2 and NVMe SSDs
An M.2 SSD is a small circuit-board module that lies flat against the motherboard. Remove its cover or heatsink if the manual calls for it, then take out the small retaining screw or release the clip. The module may spring up slightly. Hold it by the edges and slide it out of the socket at the same angle it sits in.
Avoid twisting or levering against the motherboard, and don’t touch the gold contacts. Keep track of any heatsink and thermal pad, which may need to be put back in place if you’re installing a replacement.

Server drives and hot-swap bays
A server carrier may make a drive look simple to remove, but first confirm that you have the correct drive and that the system is ready for it to come out. Check the storage management tools and follow the server or storage-array instructions. In a RAID or clustered system, removing the wrong drive or an active member can risk service interruptions or data loss.
Only use a hot-swap procedure when the drive, bay, and system support it. If the drive is cabled or not hot-swappable, follow the manufacturer’s shutdown and power-disconnection steps before opening the chassis. Keep the carrier with the drive if required, and don’t leave an empty bay open if the system requires a filler to maintain airflow.
External hard drives
If you’re unplugging an external drive, first close open files and applications, then use your computer’s eject or unmount option. Wait until the system says it’s safe before disconnecting the cable or power. Ejecting the drive unmounts it; it does not erase its contents.
If you need to remove the bare drive from its enclosure, switch off and unplug the enclosure first. Opening an external drive can be difficult, and the enclosure may contain a different drive format or a battery. Don’t pry it open unless you know how it is assembled and have a reason to remove the internal drive.
Quick comparison of common drive types
| Drive type | Where you may find it | Typical removal | Keep in mind |
|---|---|---|---|
| 3.5-inch HDD | Desktop tower or server | Disconnect cables; release cage, tray, or screws | Protect it from drops and jolts |
| 2.5-inch HDD or SSD | Laptop or desktop bracket | Slide free of connector; remove caddy if needed | Keep the caddy and screws with the device |
| M.2/NVMe SSD | Laptop or motherboard | Remove retaining screw or clip; slide out at an angle | Handle the module by its edges |
| External drive | USB or Thunderbolt enclosure | Eject in software before unplugging | Unplug before opening the enclosure |
The drive is out. Is the data gone?
No. Removing a drive, deleting files, or formatting a device does not by itself confirm that its data has been securely erased. Keep removed media under control while you choose a disposition path.
A working drive intended for reuse may be sanitized using a suitable, verified secure-erase process. For magnetic HDDs, a provider may use an appropriate wipe or physical destruction method. A certificate of destruction can document a destruction event and help your team track the outcome.
Degaussing does not sanitize SSDs or other flash storage. Degaussing uses a magnetic field and is not the right method for flash-based media. SSDs need a supported secure-erase or sanitize process, or physical destruction when erasure isn’t suitable. Don’t assume that a factory reset or ordinary file deletion is enough.
For businesses, removal is the start of secure IT asset disposition, not the finish. Record which asset the drive came from, limit access while it is waiting for processing, and keep track of each handoff. If your organization handles regulated data, check its policies and relevant requirements, which may include HIPAA, PCI DSS, state data breach laws, or contract terms.

When to hand off removal and data destruction
If you’re working with a large number of laptops, desktops, network devices, or servers, a documented process can help prevent drives from getting separated from their asset records. Ask a recycler or ITAD provider how it tracks equipment, handles media, protects chain of custody, and documents wiping or destruction.
Reworx Recycling provides free nationwide pickup and free data destruction. Depending on the device and disposition plan, data-bearing media can be wiped using a NIST 800-88-style process or hard drive shredded, with a certificate of destruction. Our certified eco-friendly recycling programs use responsible, R2-style downstream processing.
We serve organizations and individuals across all 50 states from our headquarters in Smyrna, Georgia, in metro Atlanta. For flexible scheduling, ask about after-hours options or tamper-proof drop-off boxes where available. You can text us for fast service, or learn more about our IT asset disposition services, data destruction services, and hard drive shredding.
As a social enterprise, we also help bridge the digital divide by providing refurbished technology to marginalized and vulnerable communities for education and career readiness. If you have equipment ready to retire, call 678-449-0003 or text us to discuss pickup and secure handling.
Frequently asked questions
Can I remove a hard drive while the computer is on?
Only when the specific drive and system support hot swapping and you’re following the manufacturer’s procedure. For a typical laptop or desktop internal drive, shut down and disconnect power first.
How do I remove an M.2 SSD?
Power down and unplug the device, then follow its service instructions. Remove the M.2 retaining screw or clip, hold the module by its edges, and slide it out of the socket at its installed angle.
Does removing a hard drive erase its data?
No. The data remains on the drive after removal. Use an appropriate secure-erase process for reuse or arrange physical destruction when that’s the right choice.
Can you degauss an SSD?
No. Degaussing is not a sanitization method for SSDs or other flash storage. Use a supported secure-erase process or physical destruction instead.
What should a business do after removing its drives?
Keep each drive linked to its source asset, restrict access, and document how it is handled. Complete the approved wipe or destruction process and retain the relevant record before closing out the equipment.
Next step: If you’re removing a drive for replacement, keep its screws and caddy together and follow the device manual. If you’re retiring equipment, plan for secure data handling and responsible recycling after removal.